
Obsta-ball - Day 3 - Week 5 (SF Day Camp)

New tool alert! The drill press is used for making bigger holes.
The first thing we did in Wednesday’s Opening Circle was lie down and collectively take a 30-second nap – many of us walked in today particularly tired, having not gotten enough sleep last night. As the week progresses, we better learn what the schedule and expectations of Tinkering School ask of us, and how to take care of ourselves to meet our mental and physical needs within the hard work and play we are doing.
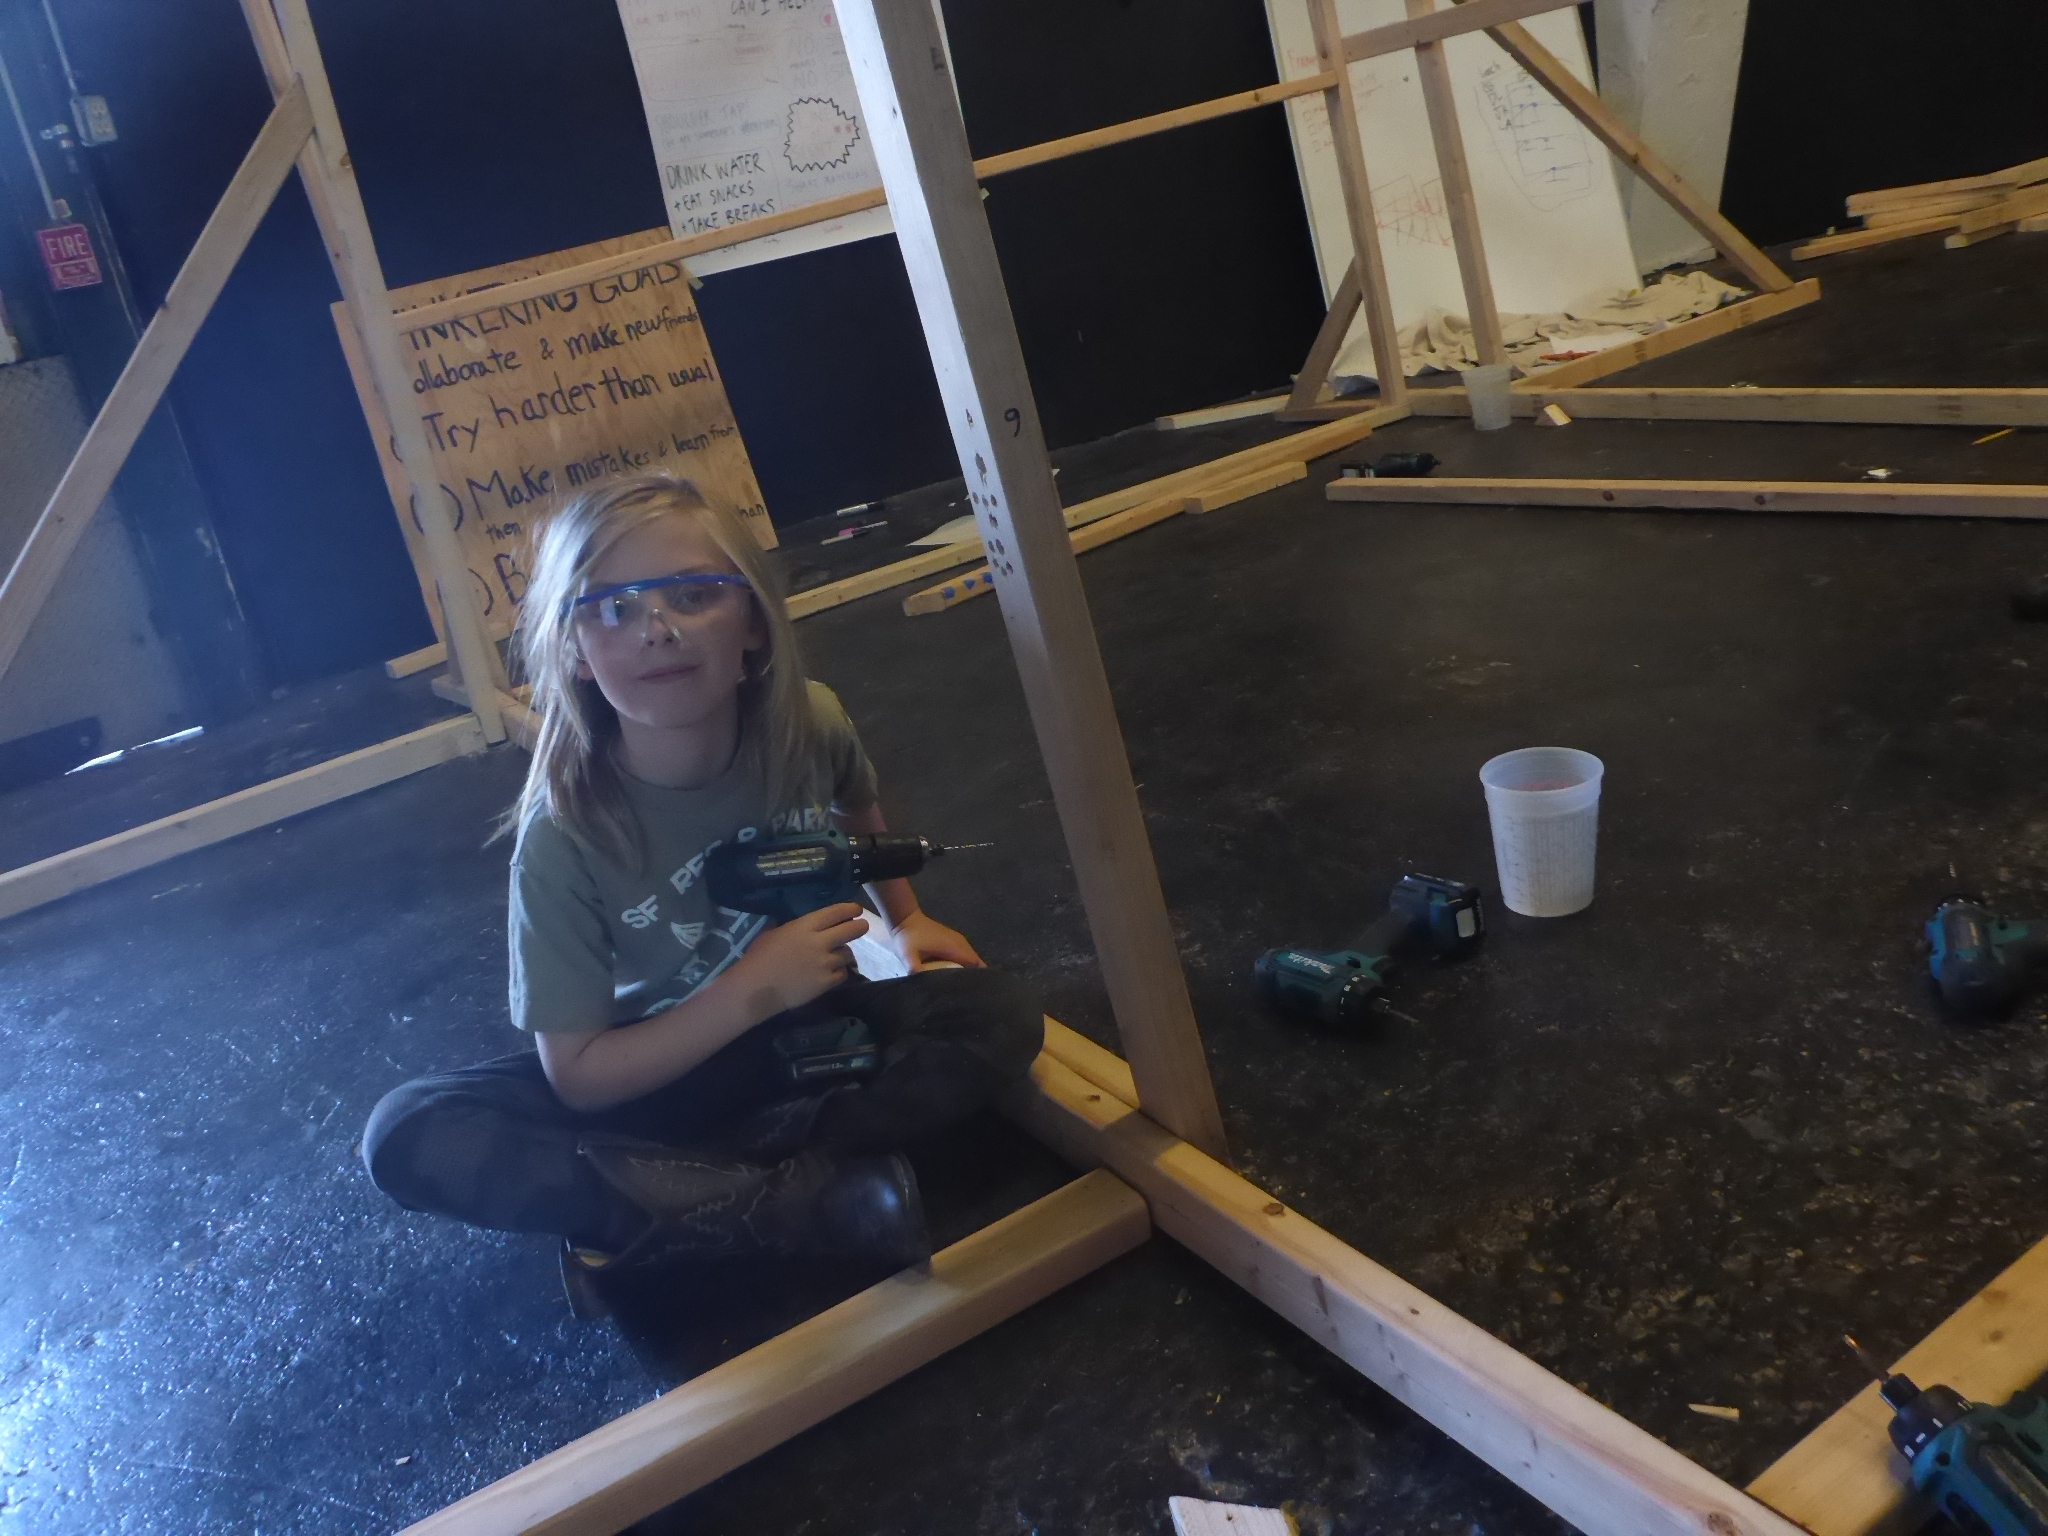
Luckily, a quick rest was enough for us to pop up ready for the morning design and build sessions. Brendon took a moment to remind us how to properly drill straight up and down in order to prevent drill-bit breakages. He also demonstrated the proper way to drill using the “toenail” method, a.k.a. drilling diagonally. It is a two step process, though easy to overlook the importance of the two steps. We learned to first create a divot, a small hole in the spot we want to drill diagonally, and then reposition our drill and continue drilling in the diagonal direction as a separate action – this intentionality can save many broken drill bits!
Wednesday is typically when projects turn from idea to reality in the blink of an eye. After a couple of solid building days, abstract pieces begin to fit together into a cohesive form. We also get to start playing with the engineering concepts that were theoretical until these precious moments of testing and iterating with the forms that we have built.
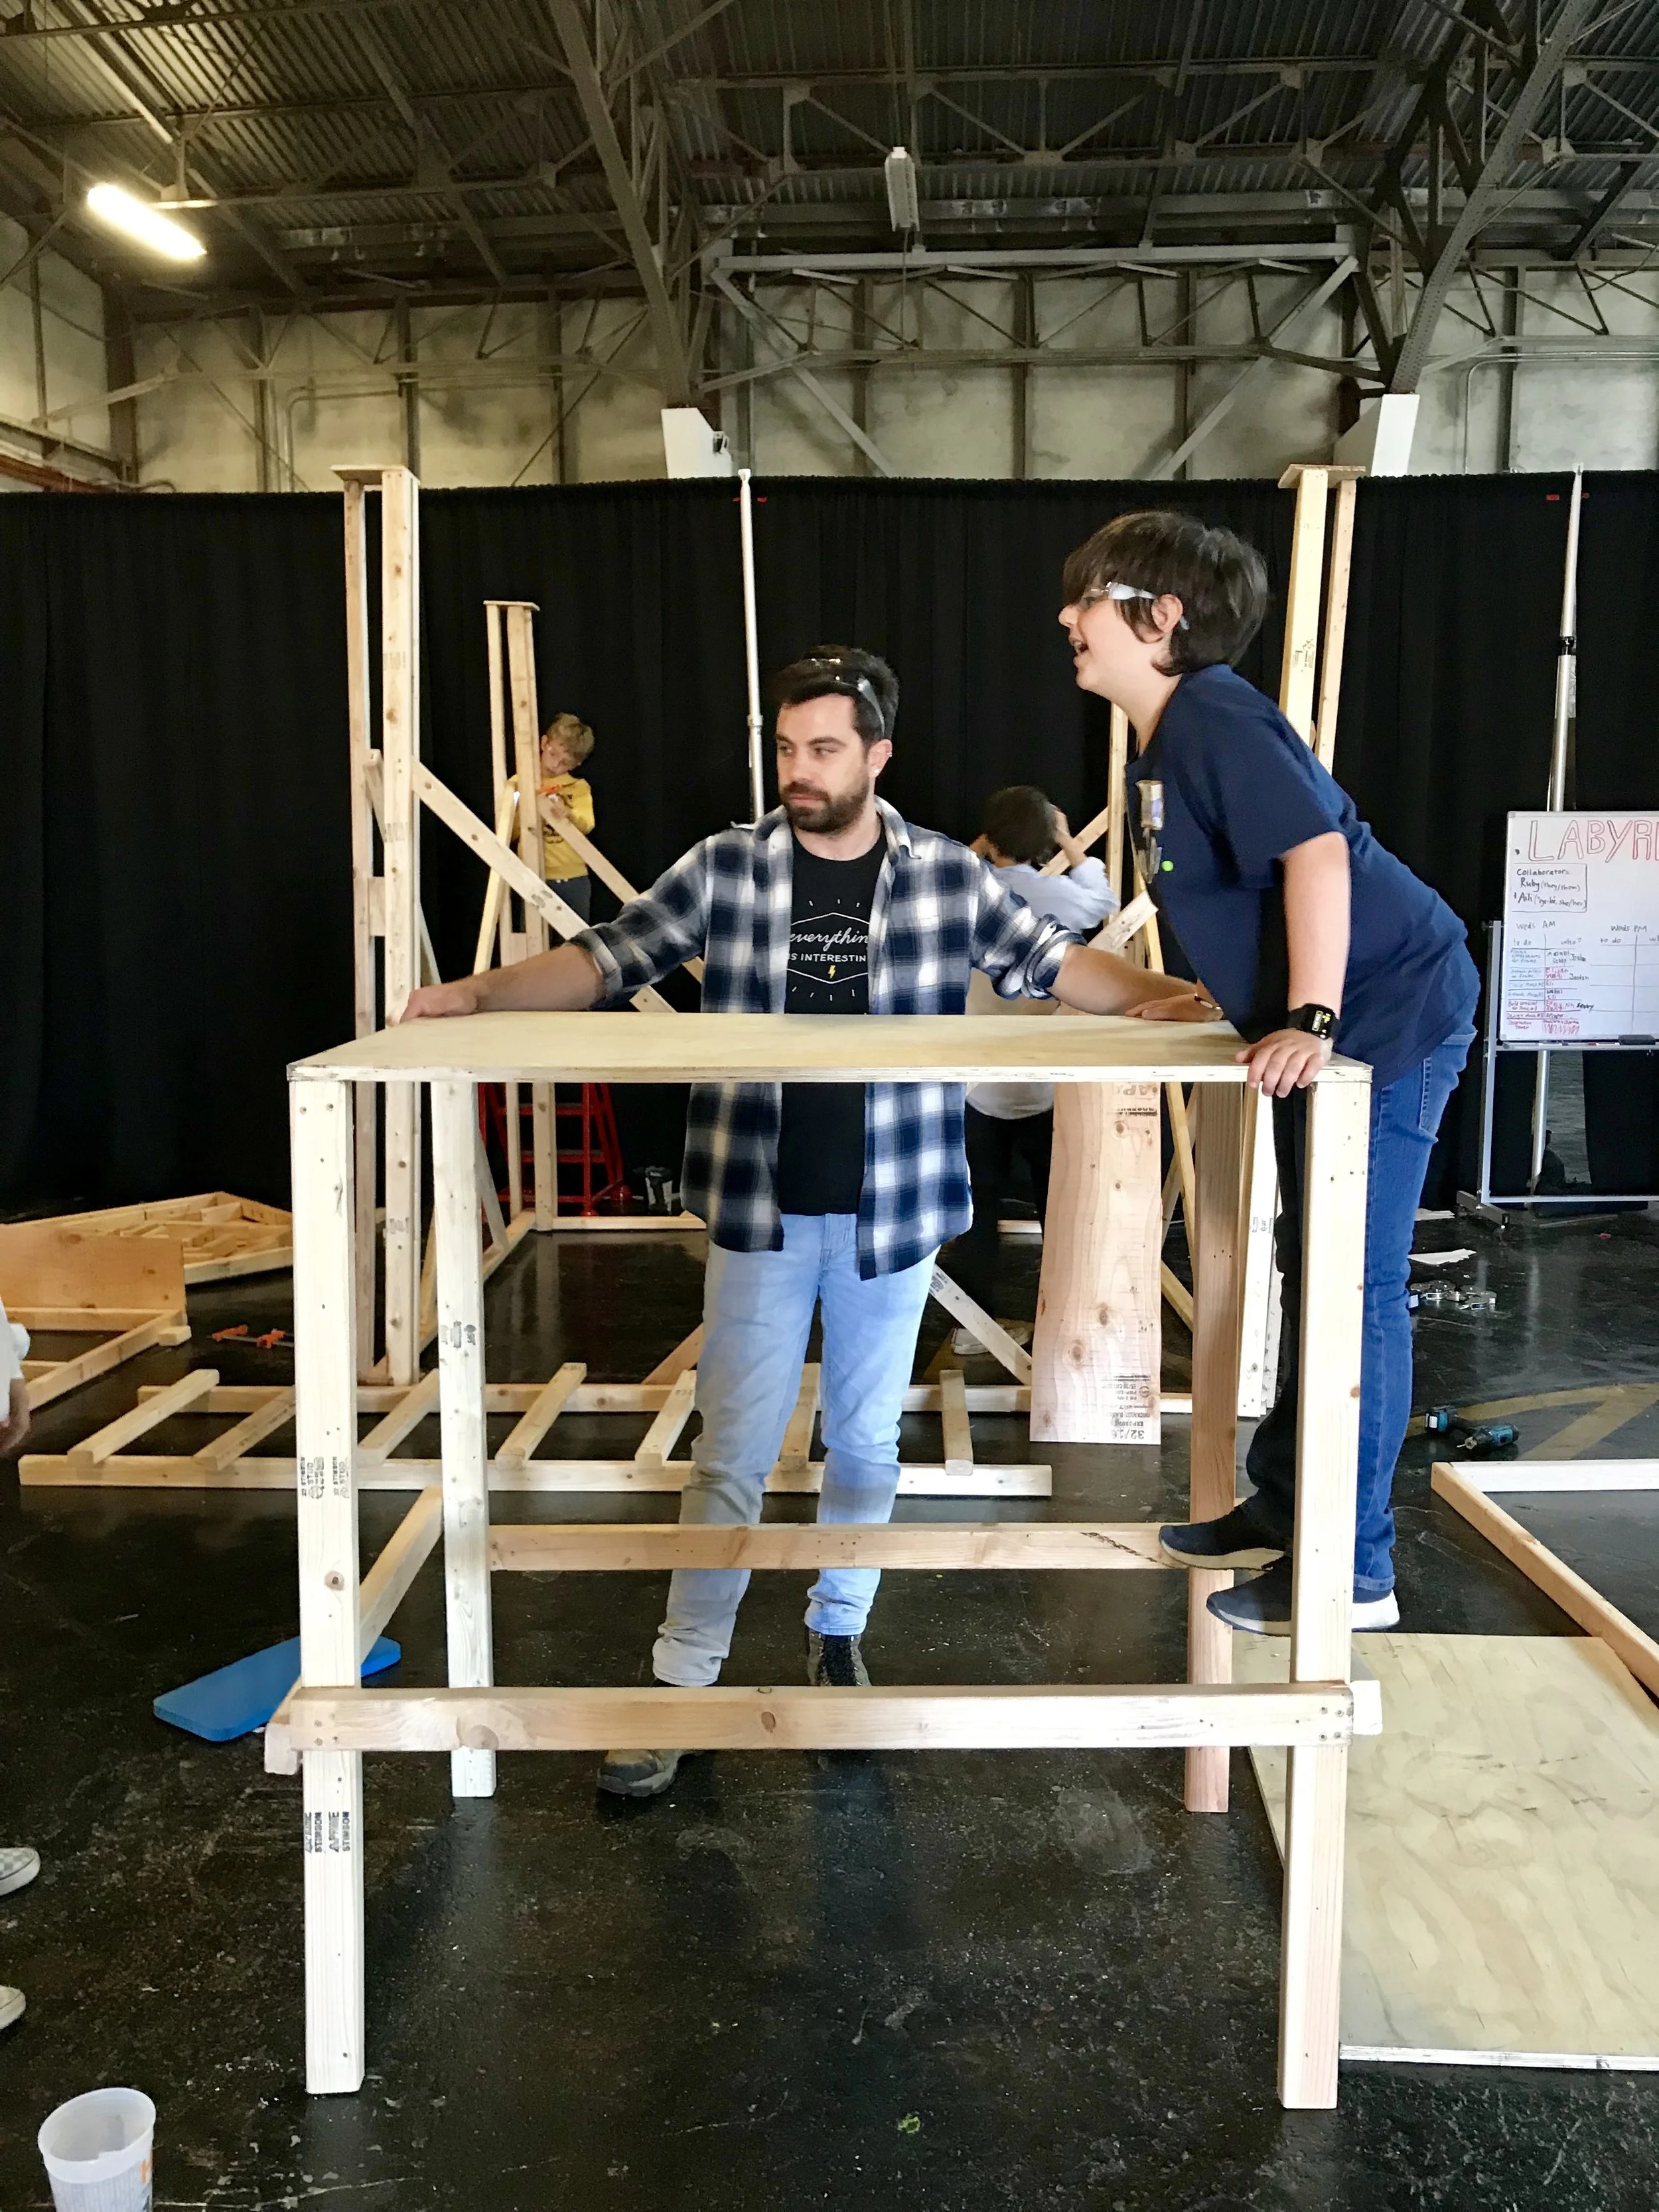
Working on the foosball frame

Proud of their hard work :)
Human-sized foosball made strides forward in building their frame, adding integral support beams on the legs and walls, as well as beginning to attach beams across the top which will ultimately hold our human foosball players.
We reached an iteration point in designing the hanging devices which will hold said players – originally, the plan was to have tinkerers sit on hanging benches. It became clear that this was a safety hazard, and would not contribute positively to the functioning of the project to have tinkerers haphazardly sliding along the benches. The group decided to divert the already-made benches to be spectator benches, and re-design their hanging devices as individual chairs.

Photobomb :p
It can be challenging in these moments to let go of original design ideas. Sometimes when we need to rethink structures, it can feel like all of our hard work was “wasted.” At Tinkering School, we stress the value of the process of tinkering. This includes analyzing, critiquing, and adapting –through the process, details are bound to evolve to meet the shifting needs presented by the project itself. Our incredible tinkerers handled this change gracefully.
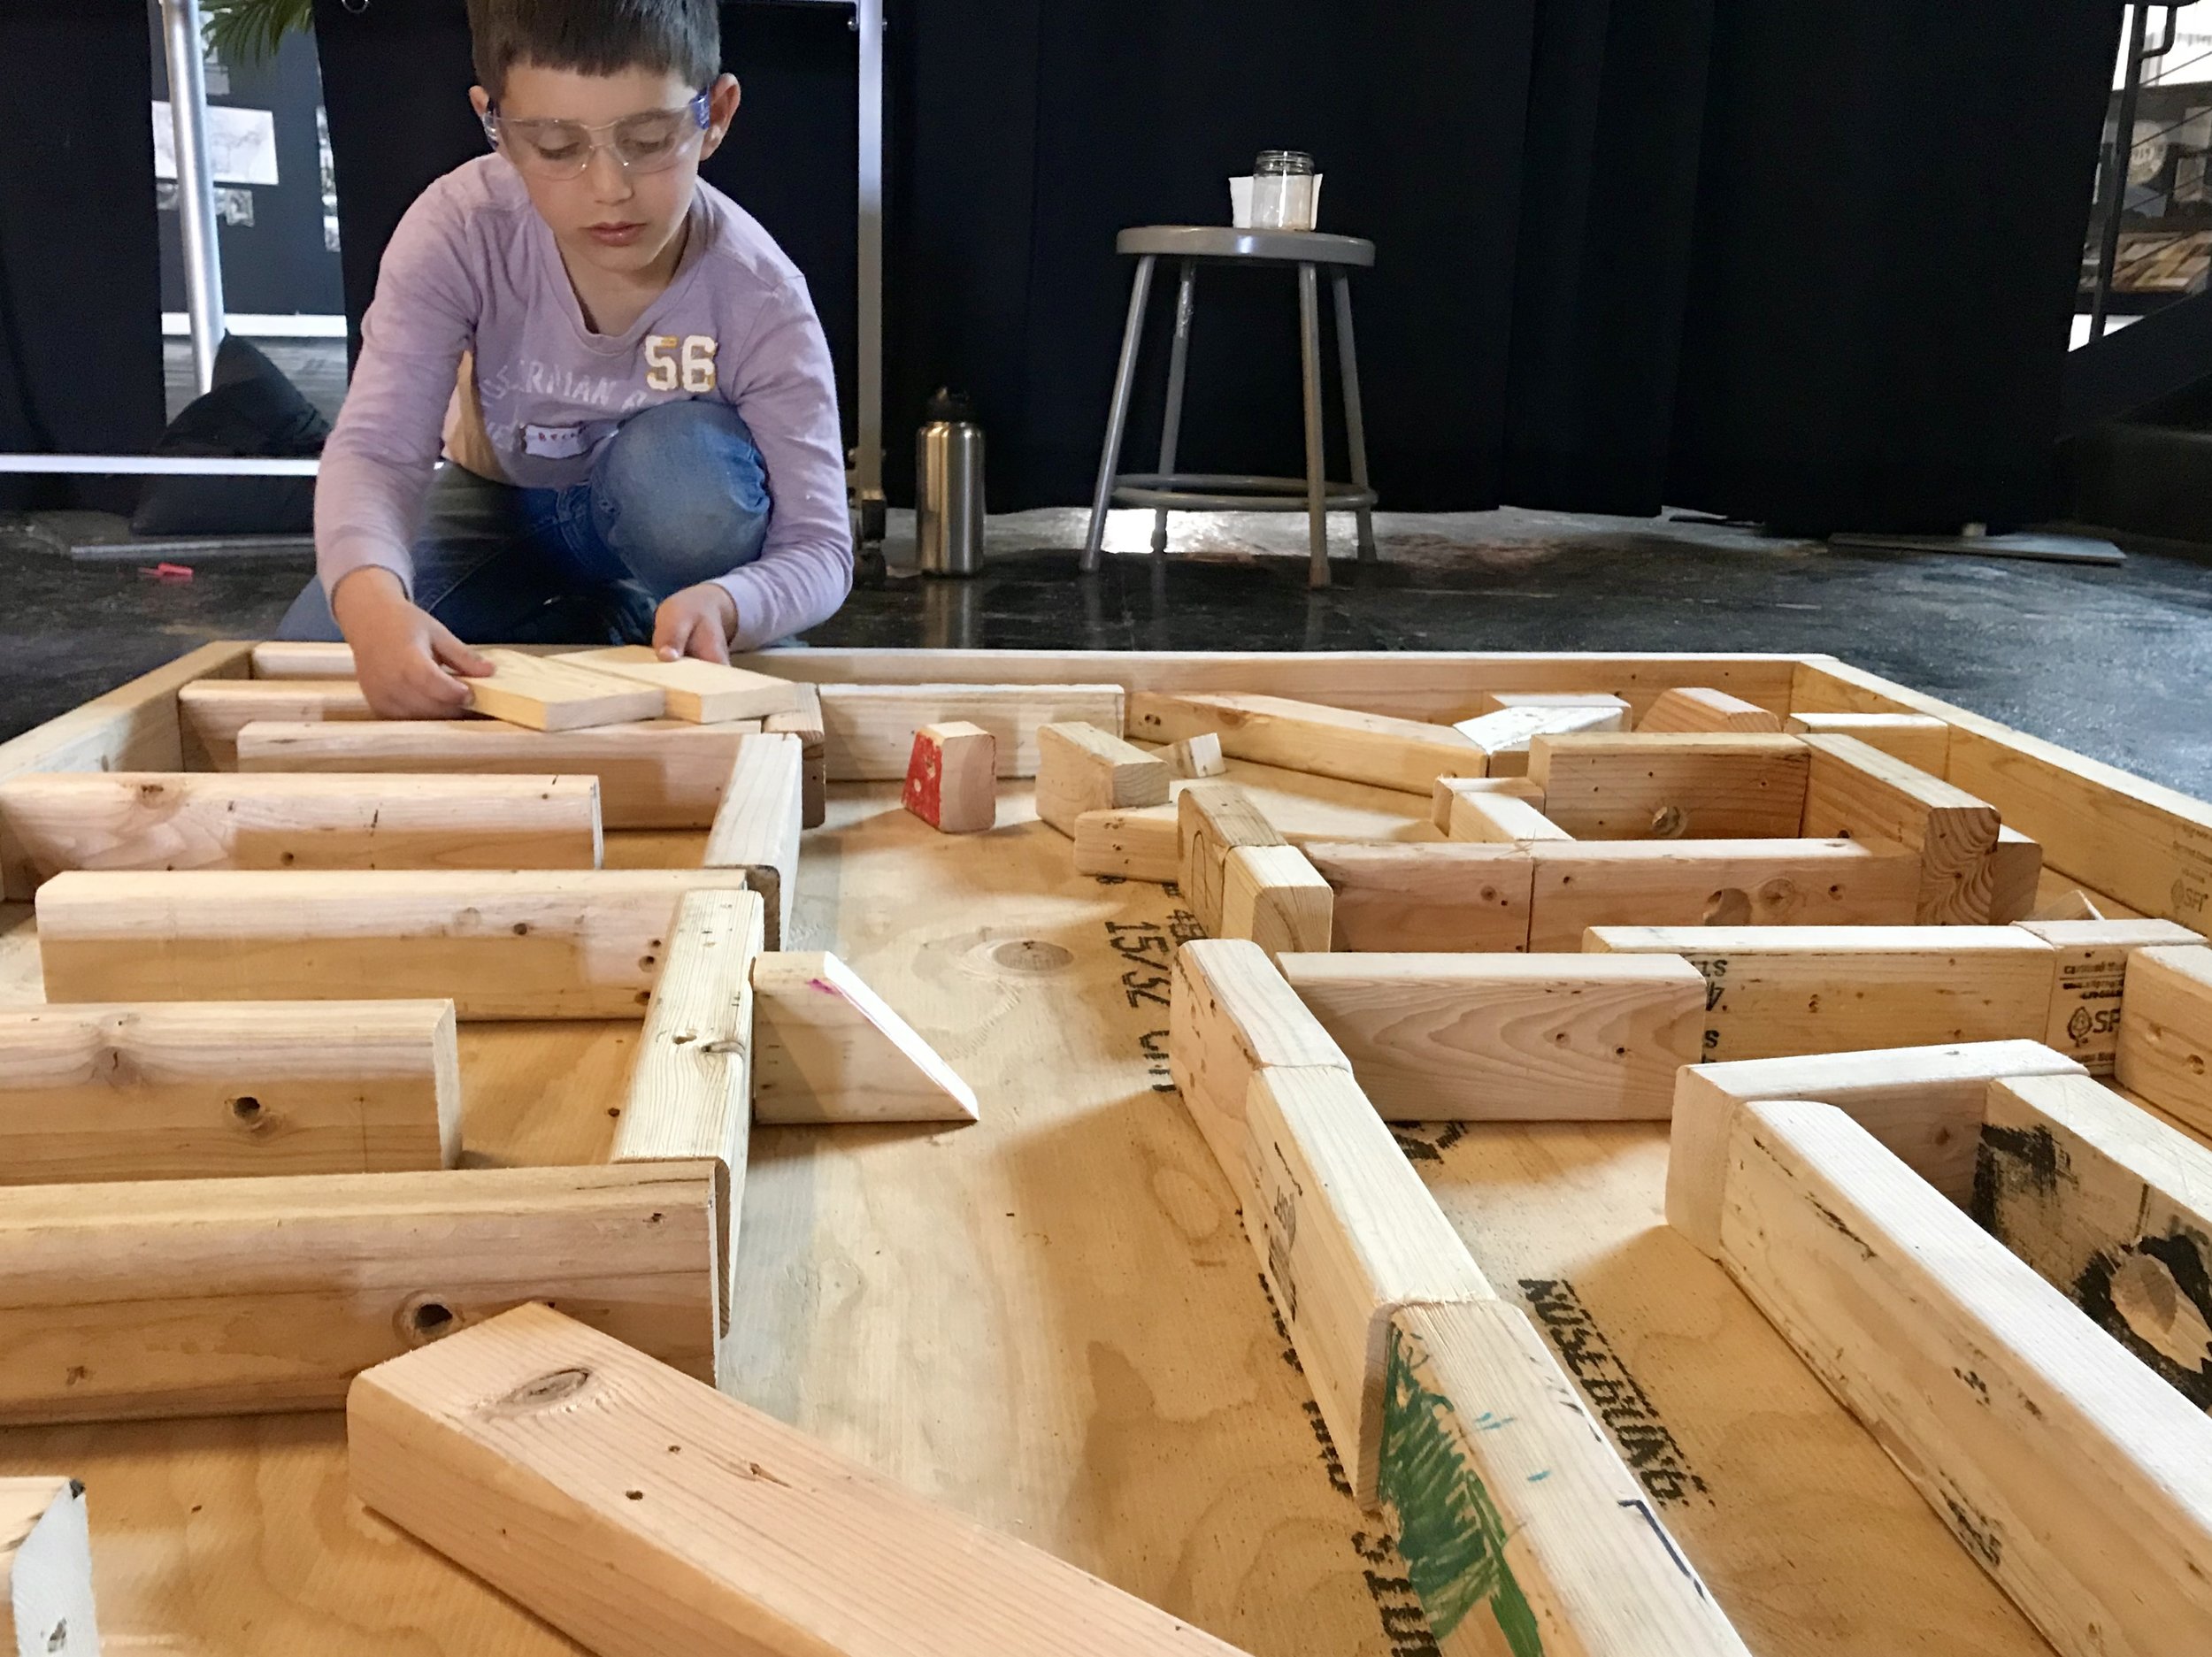
Labyrinth creation - where is the line between a difficult puzzle and an impossible puzzle?

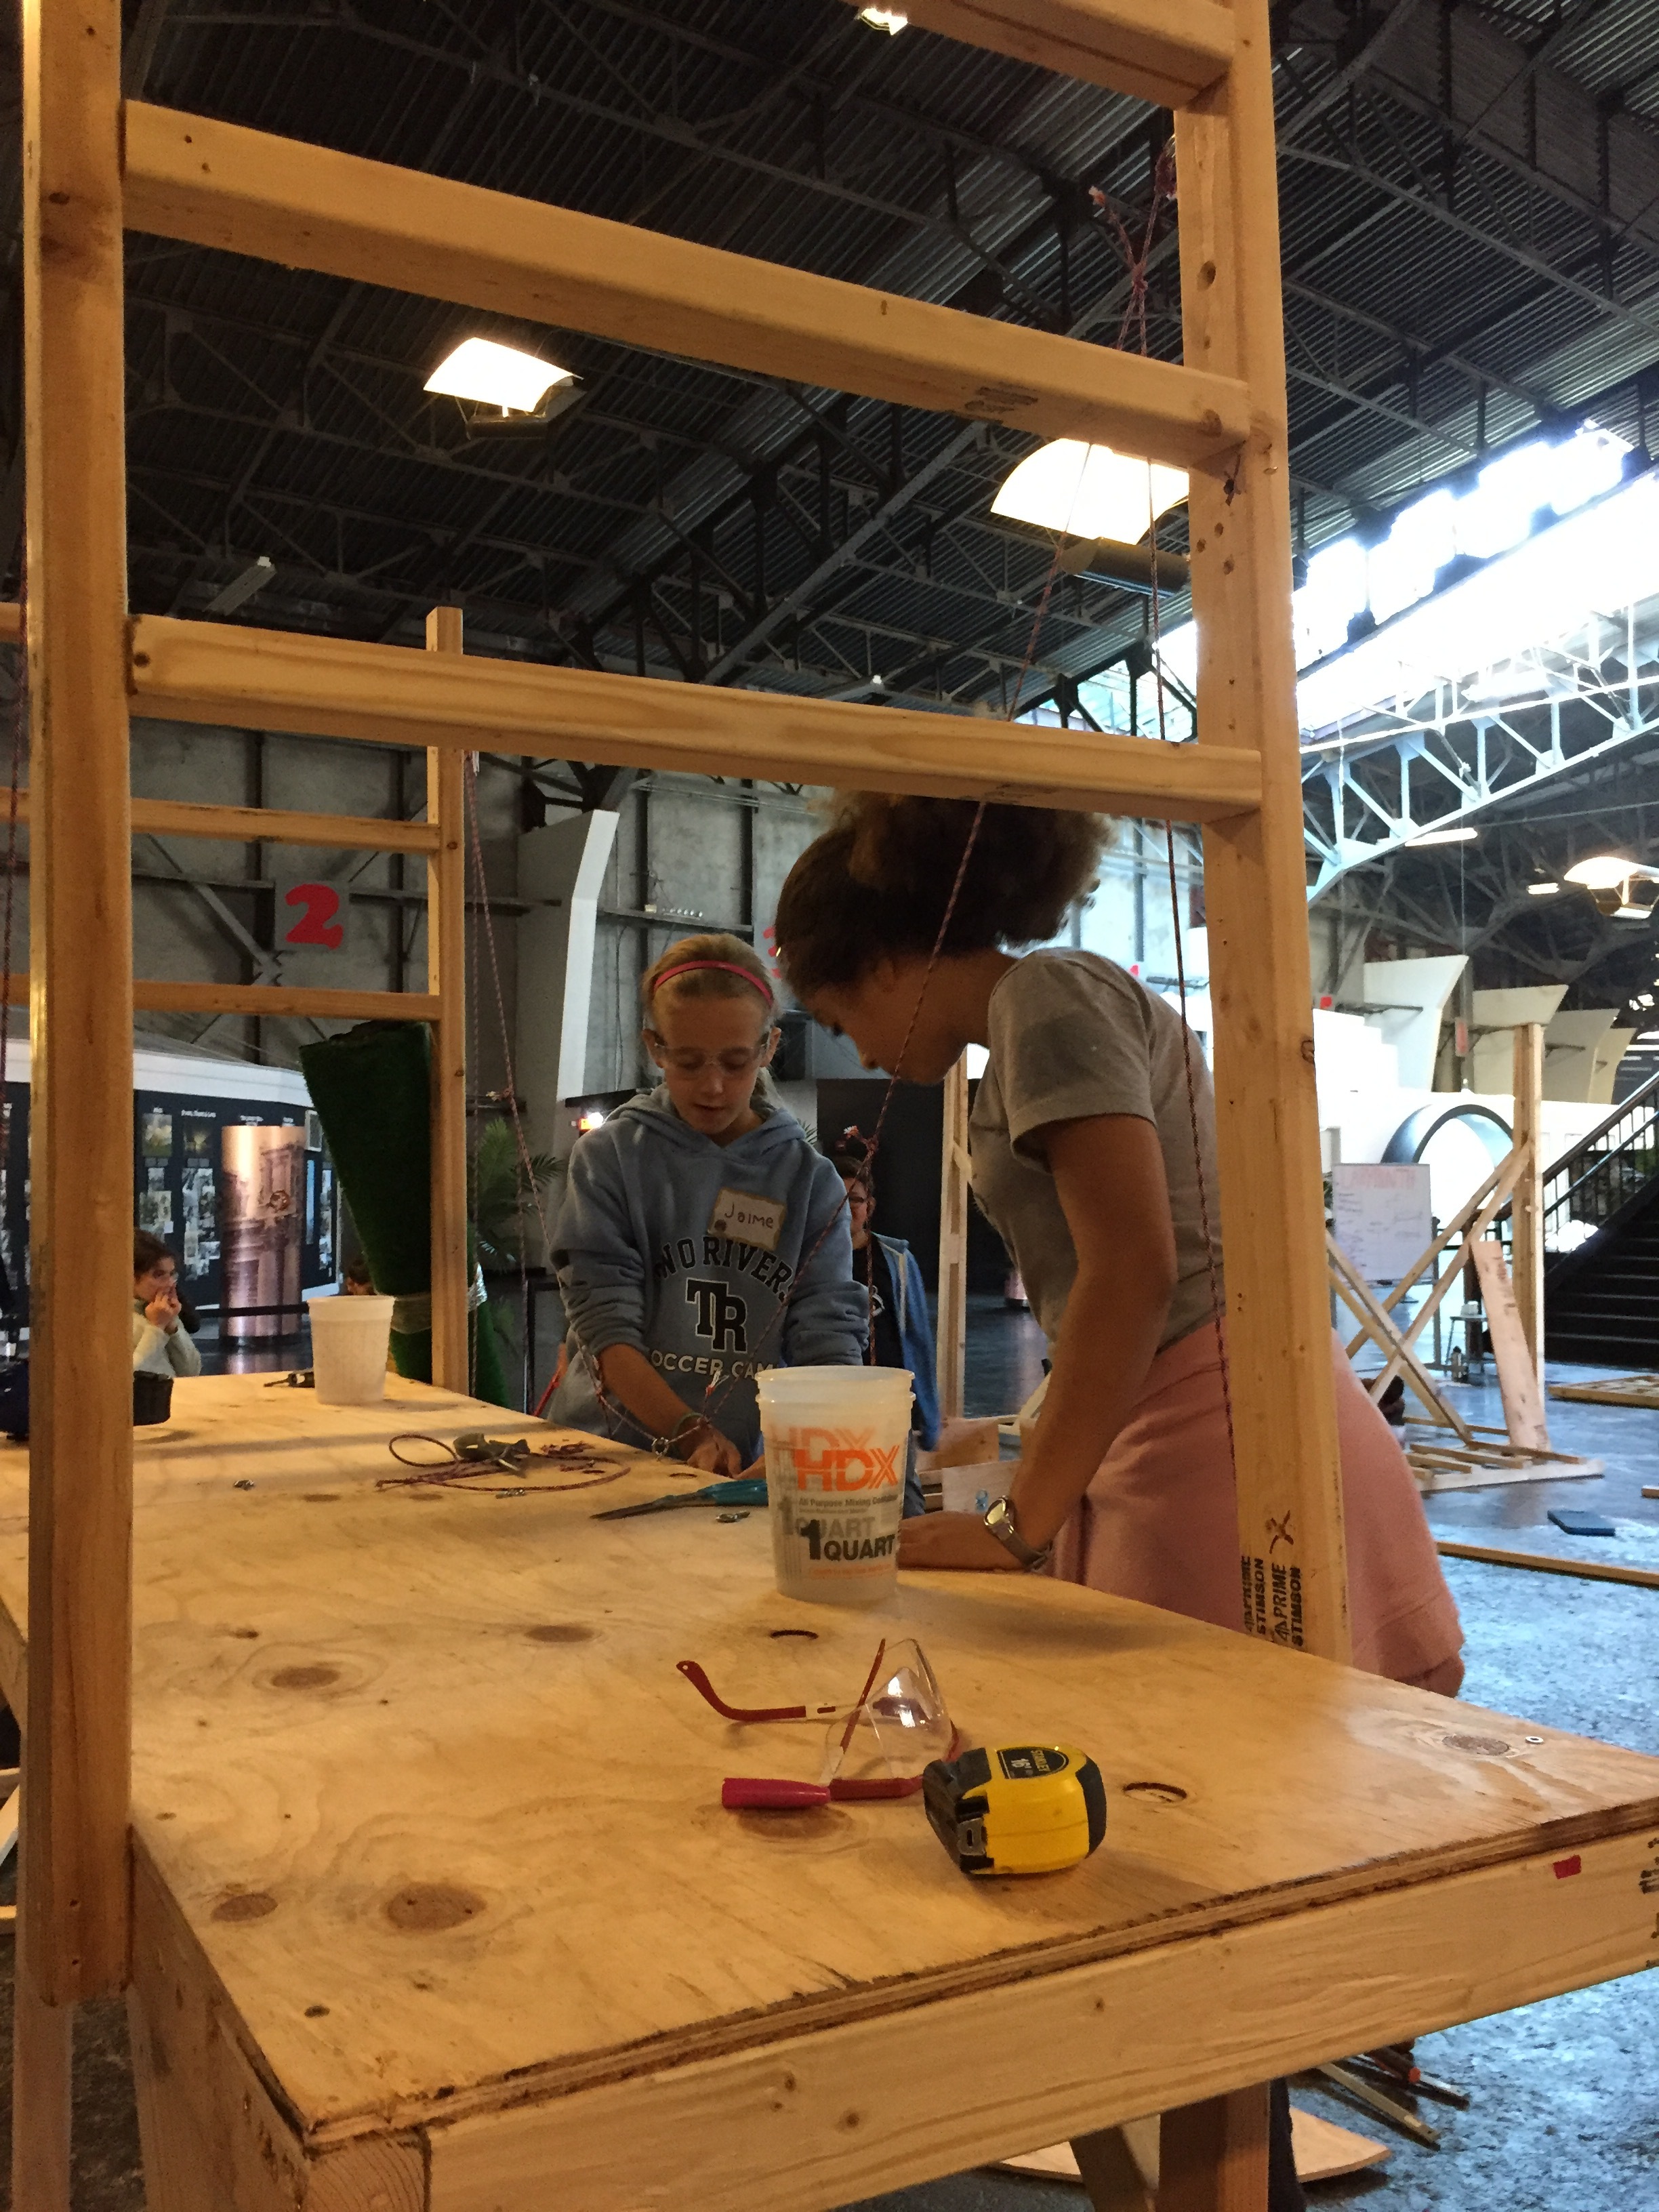
Expert collaboration, installing eye-bolts for the maze to hang
The labyrinth project chugged forward on all of the separate pieces we began yesterday. Our three mazes are completely designed, and (almost) two of the three have been put together.
This morning, we completed a very sturdy frame which will hold the hanging weight of the first two labyrinth tiers, and flipped it onto it’s feet. Until now we were working on it upside-down – at it’s full 8 ft. height, it is impossible to reach the top without a ladder, and we prioritized working safely on the ground.
Testing, testing…
A couple of innovative tinkerers have taken on the task of inventing a lever and fulcrum system for our floor-bound labyrinth tier. They have rigged up a system of PVC pipe with different pieces attached to knobs on either side that turn and push up varying spots on the bottom of the labyrinth box. This mechanism tilts it in different directions on top of our home-made ball joint.
Building our observation tower involved a few iteration points today – the original design proved to be too un-sturdy for a tinkerer’s weight, and was very shaky on it’s feet. Those working on the tower brainstormed methods to improve the structure, and added diagonal support beams across the legs. It worked!


Finishing touches on the cable car track
The mini-golf reached a huge milestone today. The cable car has wheels on the bottom, and locks in to a ramp track. Both pieces were finished today, and able to be put together! It looks really really cool. Next is attaching the crank and pulley system so that it can move up it’s ramp.
Furthermore, the team added paracord suspension cables to our Golden Gate Bridge replica. With two major pieces of the project completed, we were able to move forward on building the 8 ft. tall Salesforce Tower. Work continued on a second ramp as well – this one is called the rainbow ramp in honor of San Francisco’s Castro District. The team is dedicated to representing many different aspects of what makes San Francisco such a special city.
The team is taking to heart the challenge that their minigolf ball must end at least 4ft. higher than where it started – throughout it’s course, it will traverse heights even grander than 4 ft.
As Collaborators, we are privileged to be working with such incredible tinkerers this week, who are dedicated to challenging themselves to grow and learn. When given certain restraints, they go above and beyond!

Chillaxing on the beach during lunch time
Take a look at all of the magical happenings at Tinkering School this week on our Flickr page.